Modifying Yoga Poses: Making the Practice Accessible to All
Modifying Yoga Poses: Making the Practice Accessible to All
Active Star
10/30/20253 min read
Your Yoga, Your Body: The Essential Guide to Accessible Poses
The image of a yogi twisted into a perfect pretzel can be intimidating, creating a barrier that keeps many from ever stepping onto the mat. Let's dispel that myth once and for all: Yoga is not about forcing your body into a specific shape; it is about finding a shape that serves your body. The true essence of a skilled yoga practice is not flexibility, but rather intelligent adaptation. Learning to modify poses is the fundamental skill that makes yoga safe, sustainable, and accessible to every single body, regardless of age, fitness level, or flexibility.
Using props and adjustments isn't a sign of being a beginner; it's a sign of wisdom. It’s the practice of listening to your body's signals and responding with compassion, ensuring you build strength and mobility without risk of injury.
Your Action Plan: 4 Steps to a Personalized, Accessible Yoga Practice
Follow these steps to learn the language of your body and become the architect of your own practice.
Step 1: Shift Your Mindset – From Performance to Sensation
The most important modification happens in your mind before you even move.
Let Go of the "Ideal Pose": Release the image of the "final" expression of a pose you see in photos. Your version of the pose is the perfect version for you today.
Redefine the Goal: The goal of each pose is not to achieve a specific depth or appearance, but to find a steady and comfortable sensation—what yoga philosophy calls "Sthira" and "Sukha." You should feel a targeted stretch or engagement, not sharp, shooting, or grinding pain.
Adopt a Mantra: Repeat to yourself: "I honor my body's limits today. My practice is perfect as it is."
Step 2: Assemble Your "Toolkit" – An Introduction to Props
Yoga props are not crutches; they are your allies. They bring the floor closer to you and provide support, allowing you to experience the intended benefits of a pose correctly.
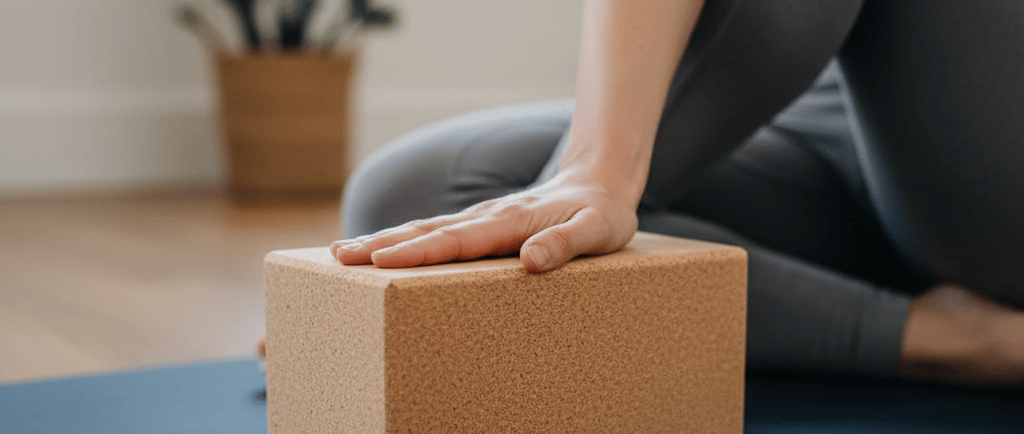
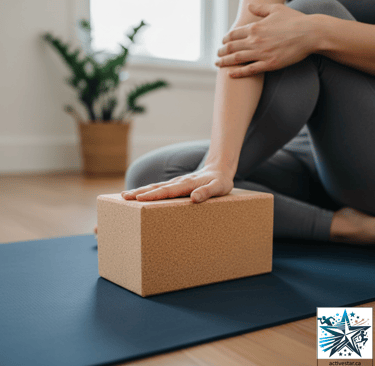
Yoga Blocks (The Foundation): Use them to bring the ground up to your hands in standing poses, or to sit on to tilt your pelvis forward in seated poses.
Bolster (The Comforter): Perfect for restorative poses, providing gentle support for your back, hips, or knees when you need to release tension completely.
Strap (The Extender): Creates length in your arms, allowing you to hold poses that require hamstring or shoulder flexibility without straining.
Blanket (The Cushion): A folded blanket can cushion bony joints (like knees or sit bones), provide traction, or offer warmth during final relaxation.
Step 3: Learn the Universal Principles of Modification
Apply these three core principles to almost any yoga pose to make it work for you.
Principle 1: Bend Your Knees to Protect Your Back.
Example - Forward Fold (Uttanasana): If your hamstrings are tight, forcing straight legs will strain your lower back. Instead, bend your knees deeply. This allows your spine to lengthen and hang freely, providing a safe, calming stretch for your back.
Principle 2: Shorten the Lever for Greater Control.
Example - Extended Triangle Pose (Utthita Trikonasana): Placing your hand on your shin or a block instead of the floor reduces the strain on your hip and hamstring, allowing you to focus on opening your chest and creating a beautiful line of energy without compromising your form.
Principle 3: Seek Sensation, Not Suffering.
Example - Pigeon Pose (Eka Pada Rajakapotasana): If your hip is far from the floor, it creates a intense, potentially harmful strain in the knee and hip. Placing a block or bolster under your sitting bone brings the floor to you, allowing your muscles to relax into a deep, beneficial release.
Step 4: Apply Your Knowledge – A Mini-Sequence of Modifications
Try this simple sequence, exploring both the classic and modified versions.
Pose 1: Cat-Cow (Marjaryasana/Bitilasana)
Classic: On all fours.
Modified: Place a folded blanket under your knees for cushioning. This is essential if you have sensitive knees.
Pose 2: Downward-Facing Dog (Adho Mukha Svanasana)
Classic: Hands and feet on the mat, forming an inverted "V".
Modified: Place blocks under your hands to reduce the intensity on your hamstrings and shoulders. Bend your knees generously to prioritize a long, flat back.
Pose 3: Warrior II (Virabhadrasana II)
Classic: Front knee bent at a 90-degree angle.
Modified: Shorten your stance. It's more important to feel stable and strong than to have a wide, deep lunge that compromises your balance.
The Bottom Line:
Mastering the art of modification is the key to a lifelong, joyful yoga practice. It empowers you to take control, listen to your body's intelligent feedback, and build a practice that genuinely supports your well-being. Remember, the most advanced yogi in the room isn't the one touching their toes; it's the one using a block with confidence and self-awareness.